This post is part of a series on making and using the Gingery Foundry.
The principle behind metal casting is simple: heat up metal until it’s a liquid, and then pour the molten metal into a mold. The mold itself is usually prepared in one of several ways:
Green sand casting involves using a wooden pattern blank. Molding sand is packed into a frame around this pattern, and then the pattern is removed to leave a pattern-shaped void in the sand. Molten metal is poured into this void to create the cast part. The shape of the part being cast is constrained in some ways, since you need to be able to remove it from the sand without destroying the mold.
Lost foam casting involves using a styrofoam pattern. The foam may be coated with a plaster to improve the surface finish, and then sand is packed in around it. When metal is poured into the mold, the heat vaporizes the foam on contact. This lets you cast more complex shapes than green sand molding, but has the disadvantage of consuming the pattern blank with every pour. If you are making multiple copies of a shape, or there’s a chance the casting will fail, lost foam can involve a lot of tedious rework.
Lost wax casting is usually used for small, detailed items like jewelry. A pattern blank is made from wax, and then refractory clay is packed in around it. The wax is melted and burned out of the mold, and the metal is poured in. Once the metal has cooled, the mold is broken off the finished part.
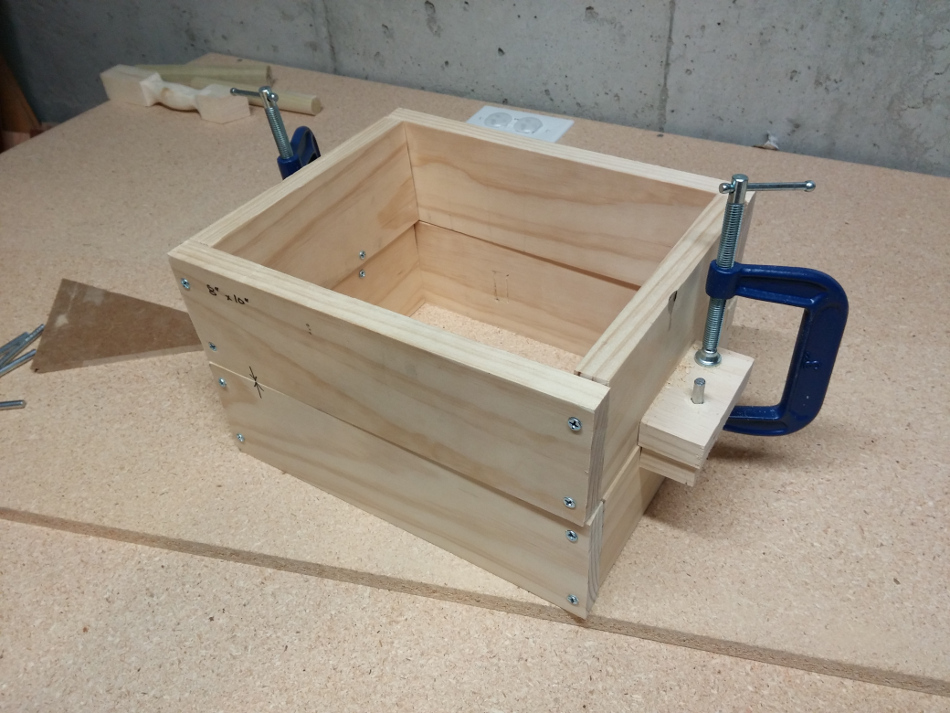
The sand molding methods above, particularly green sand casting, require some specialized tools. Most important is the frames, or flasks, used when packing the mold. These are essentially split wooden boxes that fit together in two halves. I used a slightly different design from the one outlined in Gingery’s books.
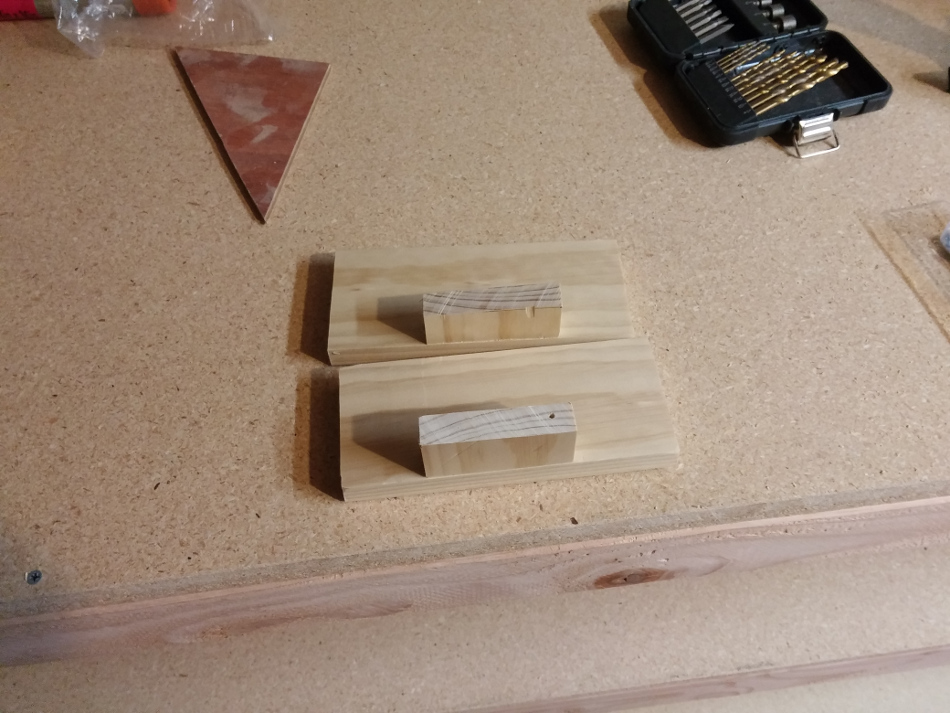
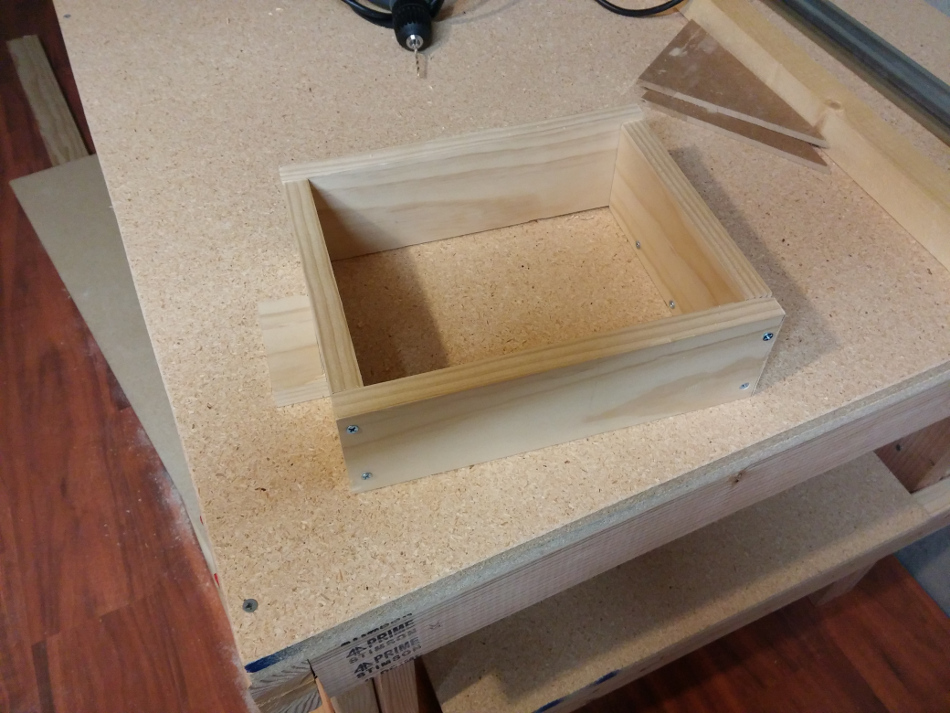
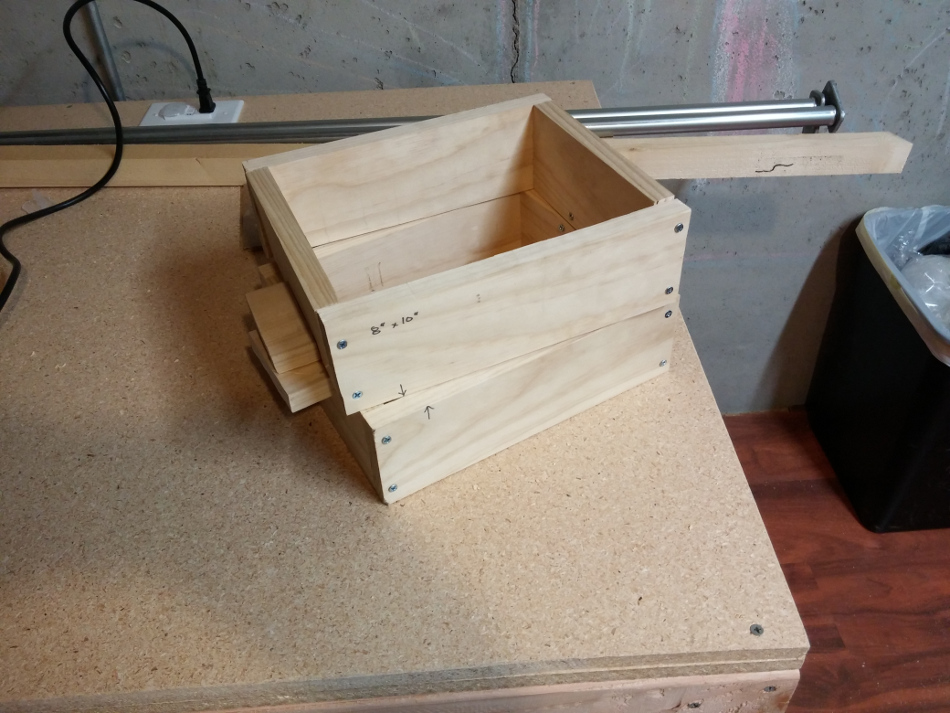
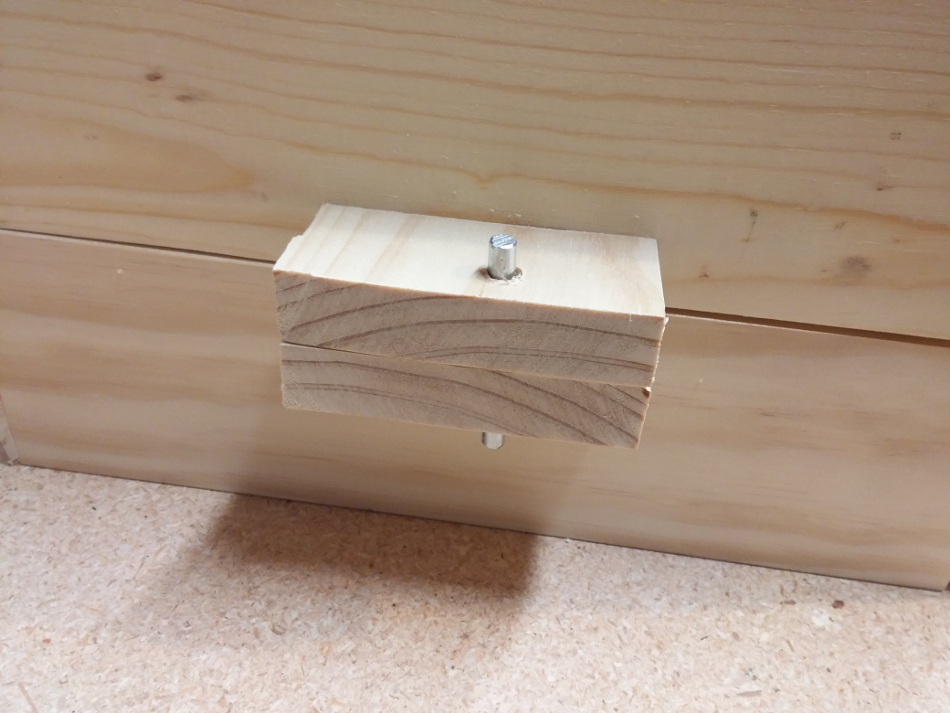
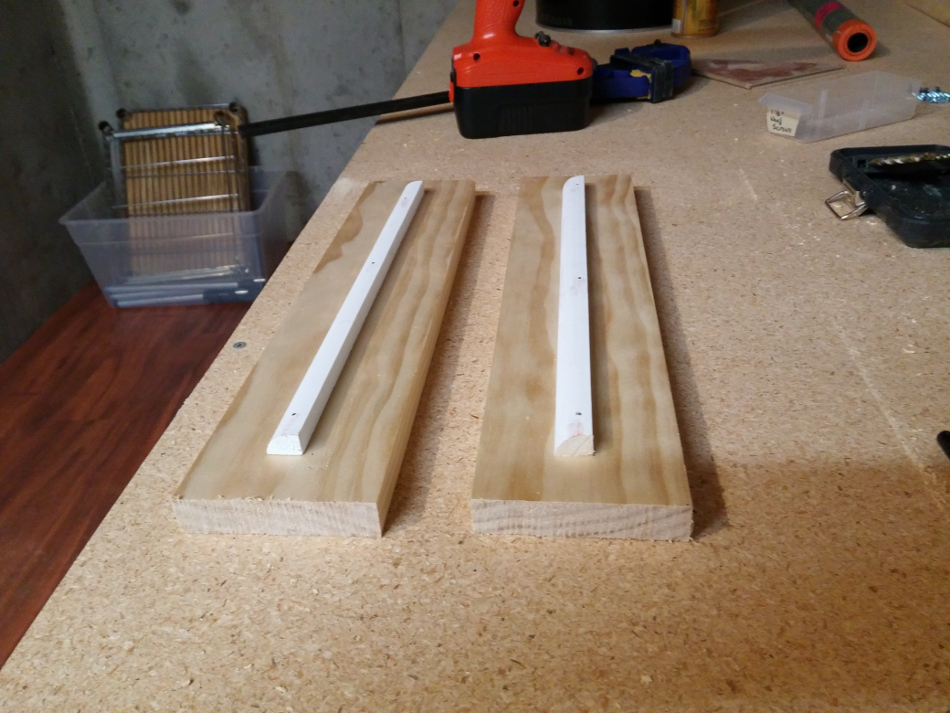
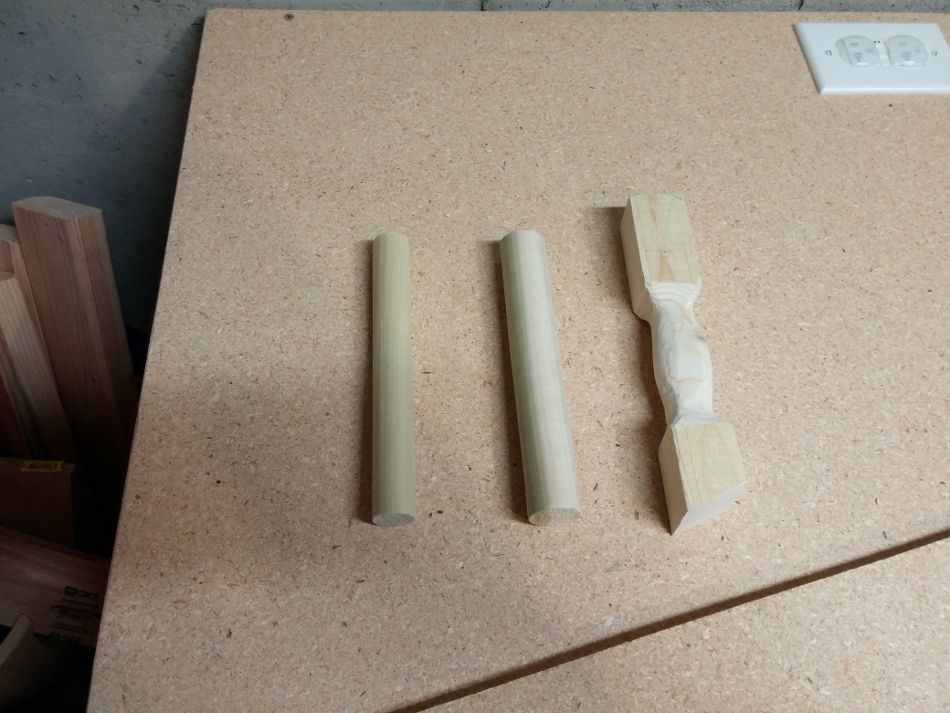
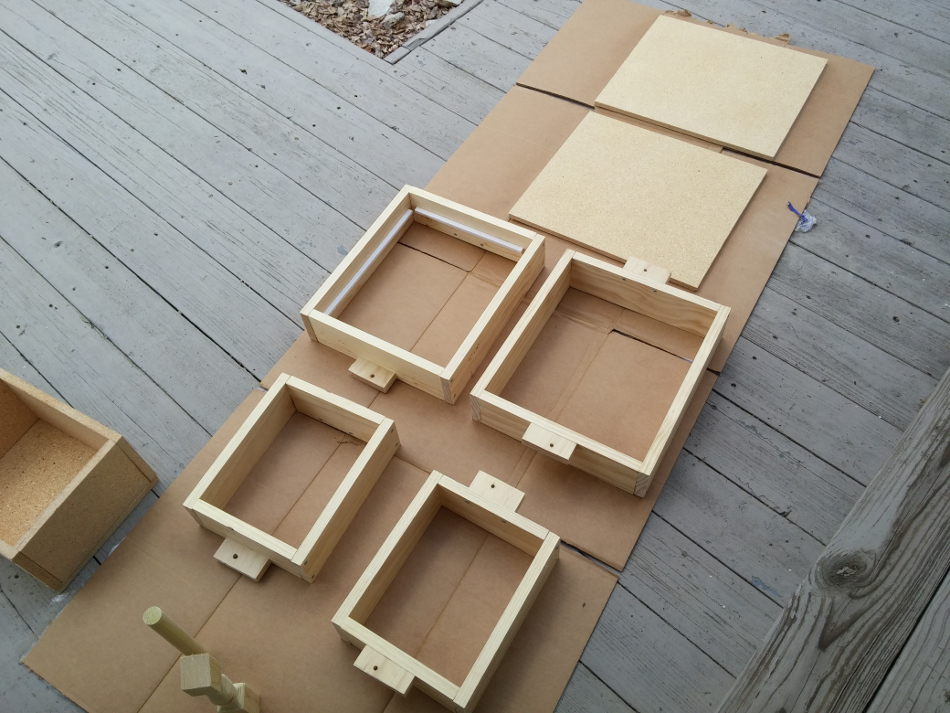
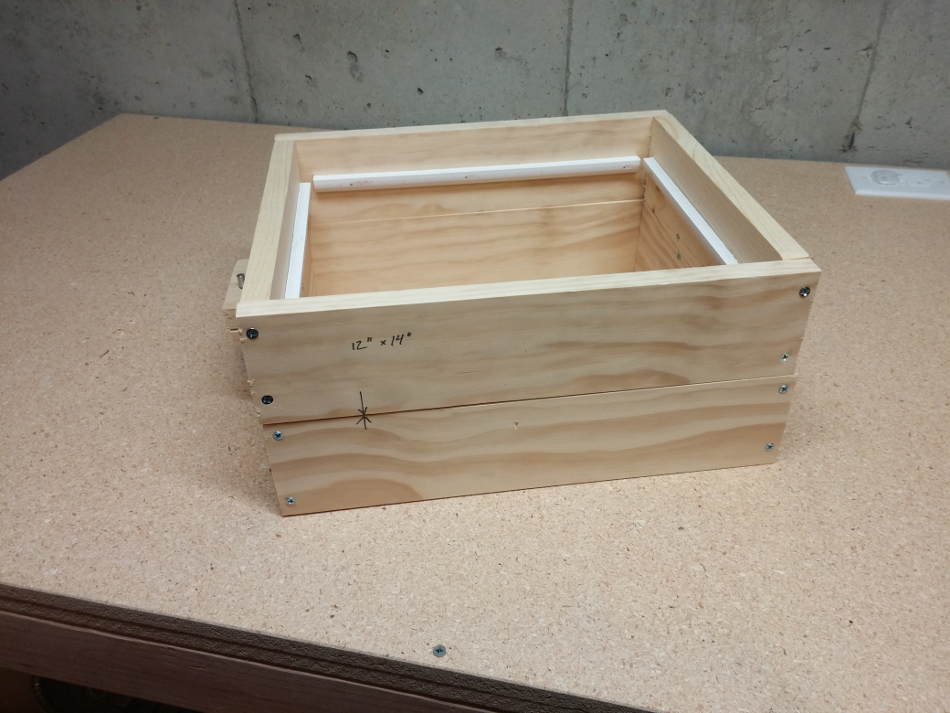
The frames are made from 1”x4” whitewood boards. Each flask is comprised of two rectangles of boards, one on top of the other. The top section of each flask is called the cope, and the bottom section the drag. I made an 8”x10” flask and a 12”x14” one. The larger flask has a strip of ½” quarter round molding nailed around the inside of the cope to give it a better grip on the sand when it is lifted. Each flask has “ears” on the side; these are simply tabs of wood that stick out from the bottom of the cope and the top of the drag. These ears have ¼” holes through them, and ¼” round pins can be pushed through them to keep the halves of the flask aligned. For large pours the ears can be clamped together to prevent metal from flowing out the seam. Once finished, the flasks were given a coat of varnish to keep them from absorbing water from the molding sand.
The gallery of images below will hopefully help clarify things:

