I’ve been playing around with the Gingery Foundry and I’ve discovered that lost foam casting is dramatically easier than trying to make split forms in sand. With green sand cope-and-drag casting you have to make the pattern in wood, ram up half the mold, flip it over without spilling sand everywhere, ram up the other half the mold, lift off the cope - again without spilling sand everywhere, gingerly take out the pattern, line your cope and drag up properly, and then pour your melt.
With lost foam casting you basically just have to make the pattern in foam and bury it in sand. It doesn’t even need to be special sand. Regular old play sand works pretty well. If you want a better surface finish, you can coat the pattern in something like drywall mud before you bury it. Plus you can cast a much wider variety of shapes and not have to worry about parting plane geometry. It’s just all around easier.
The one drawback to lost foam casting is that it consumes the pattern every time. If you screw up a casting, you don’t just need to re-make the mold, you need to make the whole pattern over again. To that end, I needed a quick way to shape foam. Enter the hot-wire foam cutter.
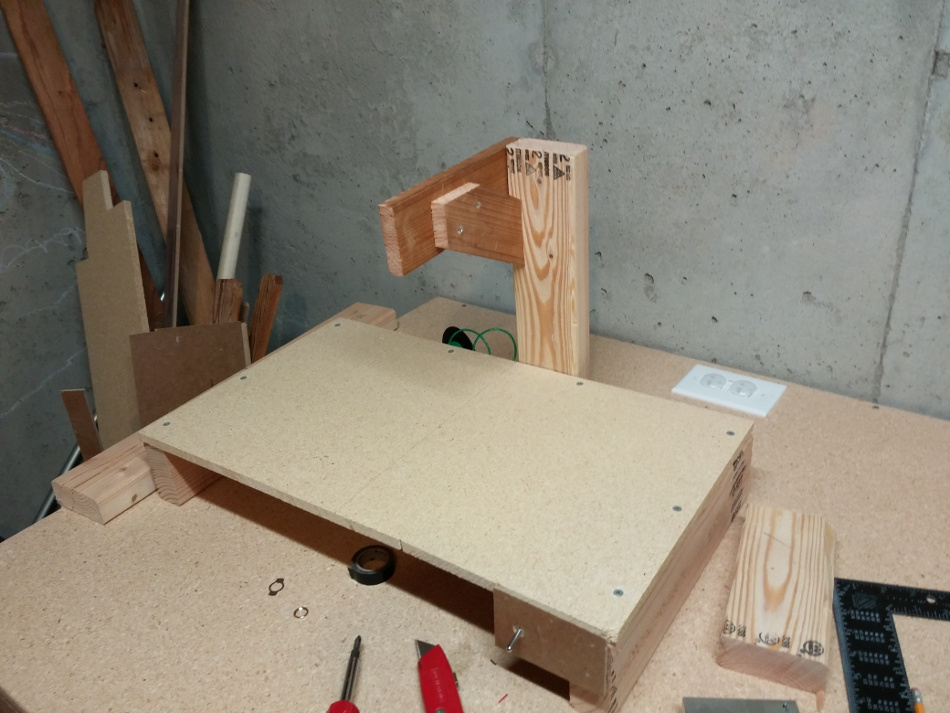
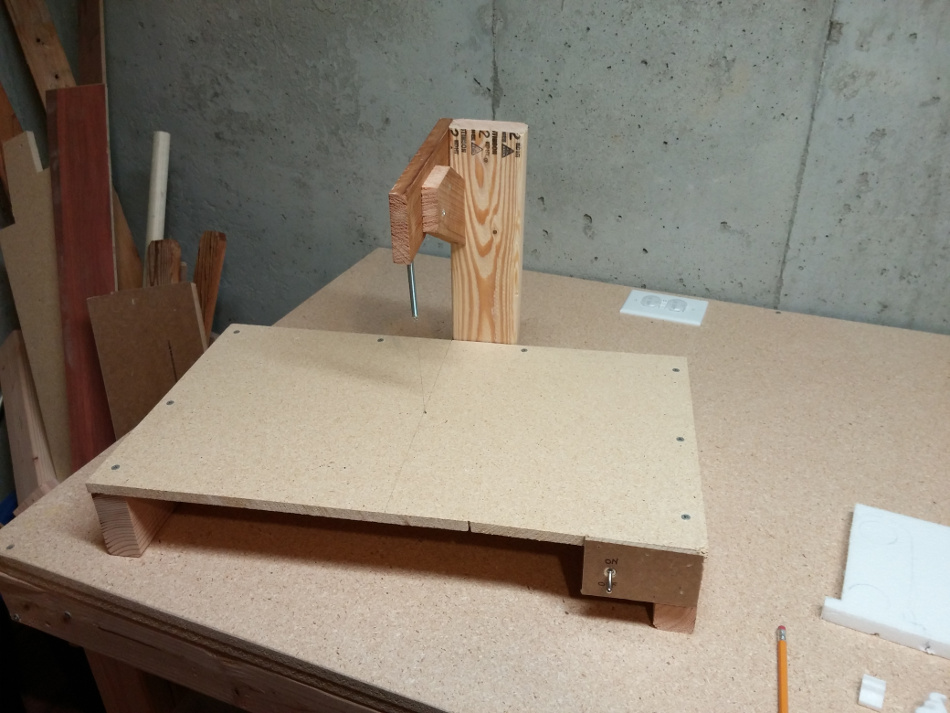
The foam cutter is basically a work table perpendicular to a piece of resistance wire under tension. When you run current through the wire, it gets hot enough to melt through foam. It basically acts like a bandsaw for Styrofoam.
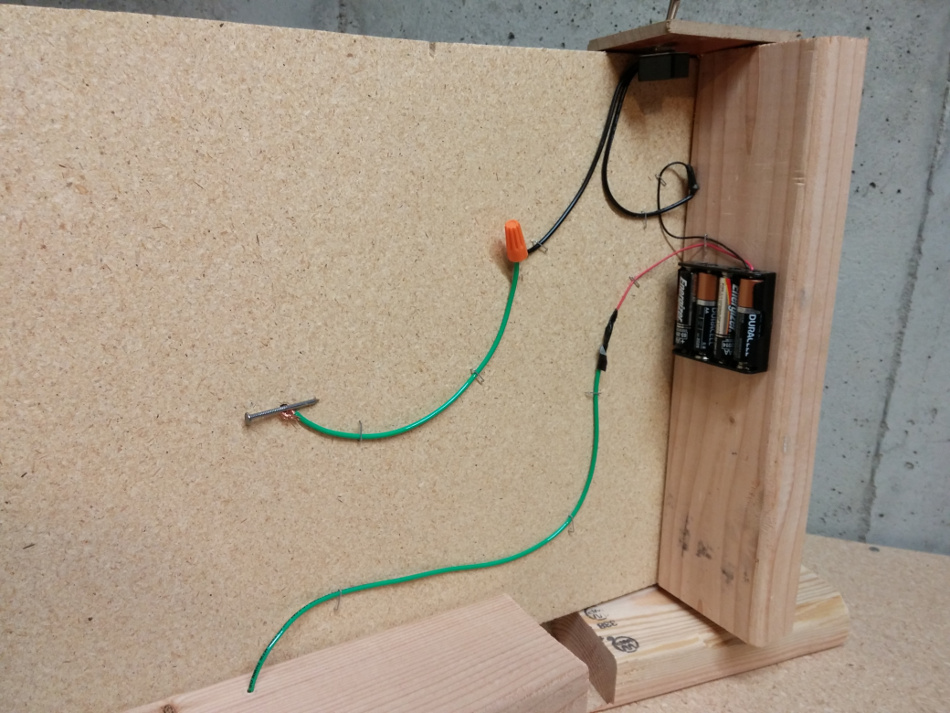
I built the work table first, using some scraps left over from the workbench project. The arm was attached to that, and a hole was drilled in work table for the wire to pass through. I wired up a battery pack and a switch as shown, giving me an easy way to turn the cutter on and off.
The actual cutting wire is A1 Kanthal resistance wire. I originally tried to use a strand of fine copper wire, but I needed to apply more than 18 volts to it before it started getting into temperatures capable of cutting foam. I switched over to 28 gauge resistance wire, which lets me run the cutter with four AA batteries. A spring is attached to the cutting wire to keep the tension as it heats up and cools down.
Below you can see my first tests cutting complex shapes into foam, and then an example putting it to actual use. You can see my original wooden pattern for a bearing block cap, along with a selection of foam patterns for the same piece.


