This post is part of a series on making and using the Gingery Foundry.
I’ve made several posts so far about putting together a Gingery foundry setup: flasks, molding sand, and air blast control. The next thing I needed to have a working foundry was the actual foundry furnace.
The furnace is contained in a 5 gallon steel bucket. Two 8” plywood disks were cut out, and wrapped in sheet metal to create a form for the interior of the furnace. I drilled a couple holes in the bucket for drainage and tuere outlets.
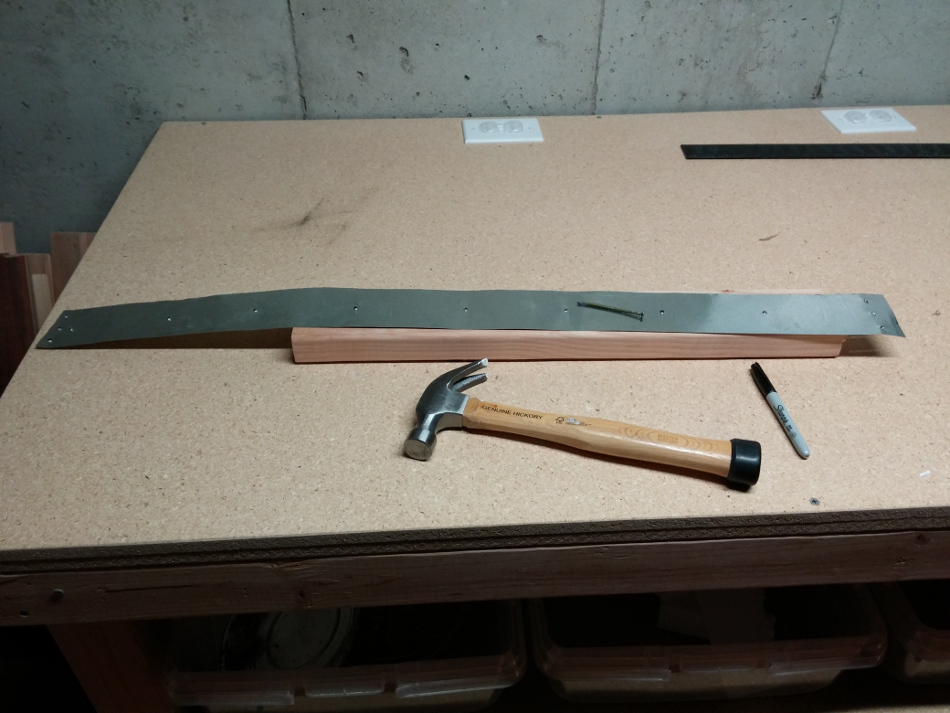
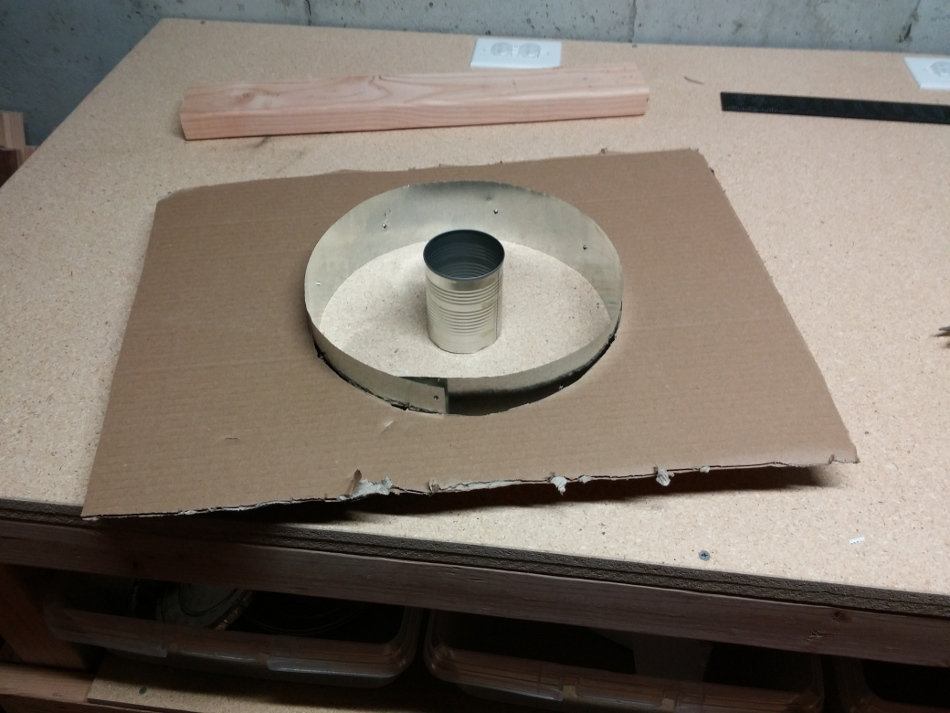
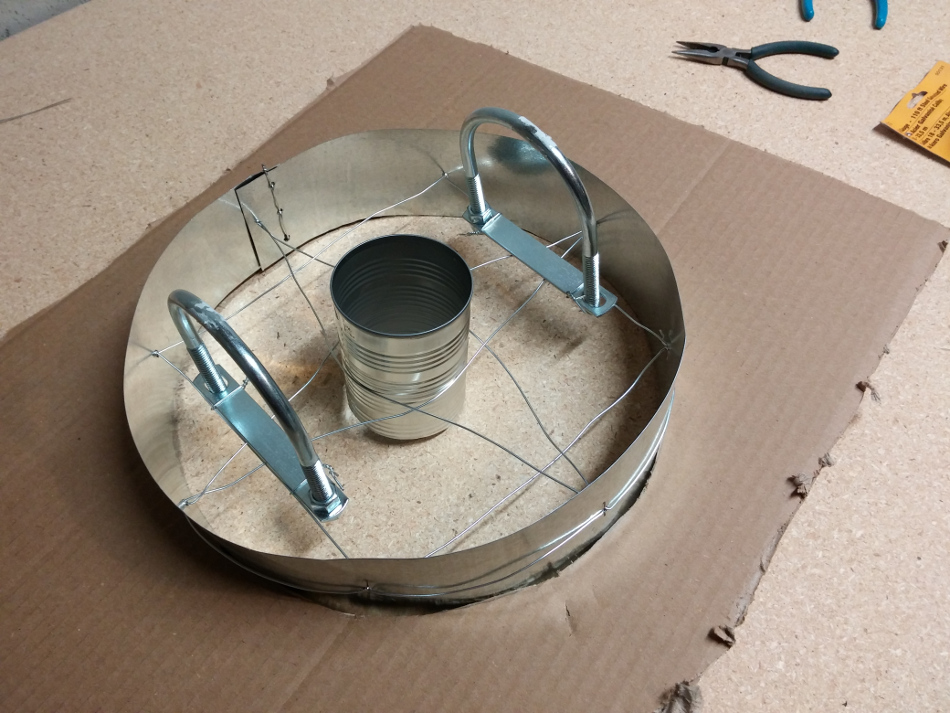
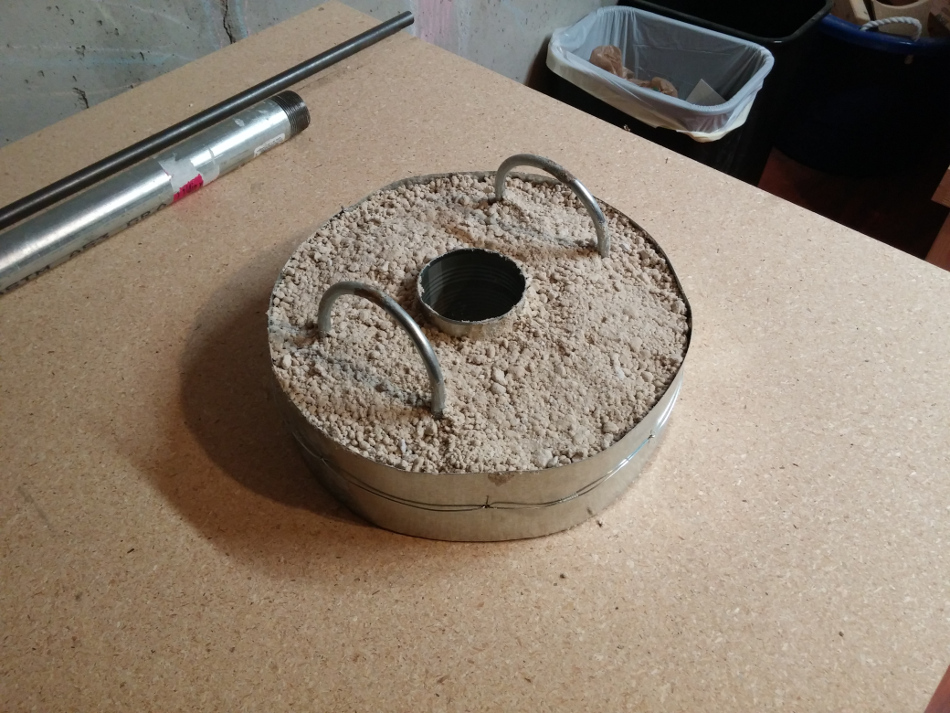
The furnace lid is built using a strip of sheet metal and an old soup can. Holes were punched at even intervals along the metal strip. A cardboard form then held the strip in place while wire was used to “stitch” the lid together. This wire should hold the shape of the lid and serve as reinforcement once the refractory is cast. Two U-bolts were wired in to serve as handles for the lid.
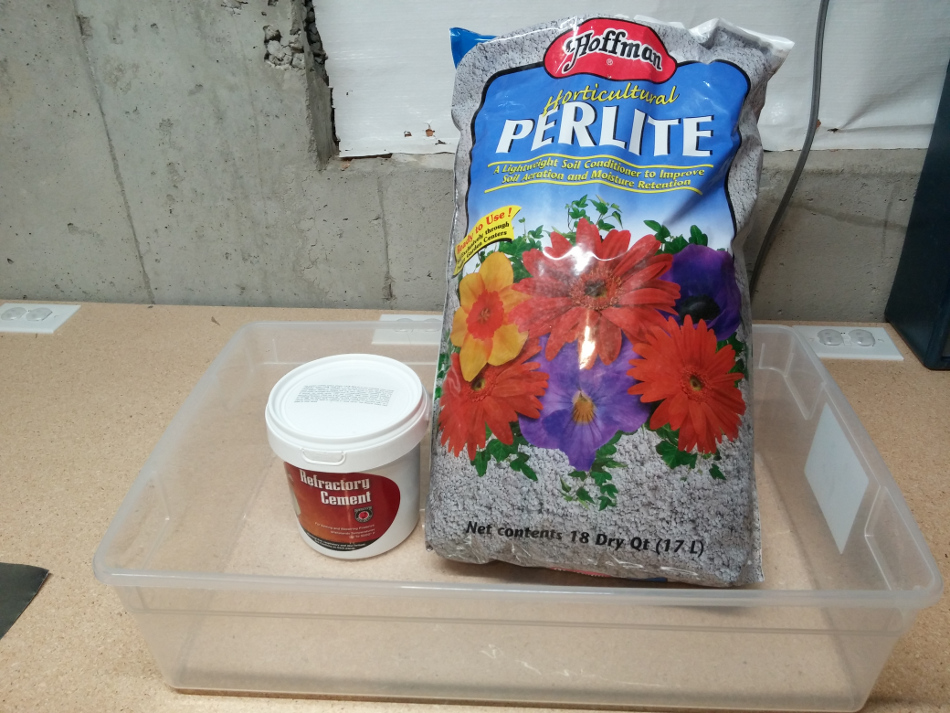
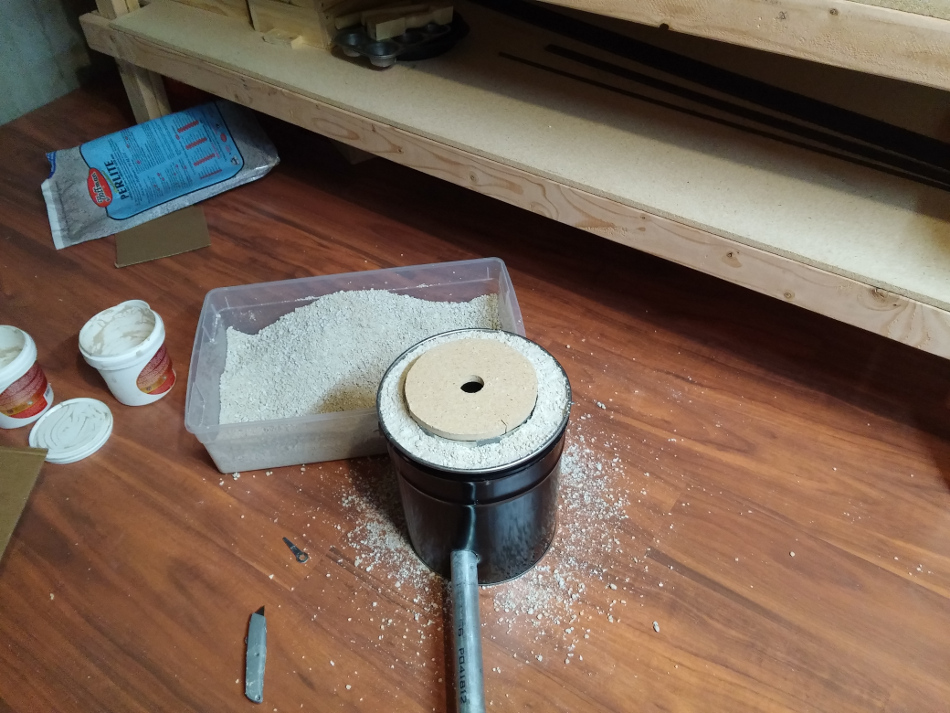
The furnace and lid next had to be filled with a castable refractory mix. Gingery recommends a recipe using silica sand and fire clay, I opted to use a slightly different mix: one part furnace cement (sold in ½ gallon buckets, thinned with 1 cup of water per ½ gallon) to four parts perlite (expanded rock about the consistency of styrofoam). This mix is drier than you think it should be, and prone to crumble until it’s been fused. The key is to ram it tightly and then cook it as soon as possible. The stove cement I used is rated up to 3000° F, the perlite starts to break down at 2000° F, but the furnace should able to withstand temperatures required to melt aluminum, bronze, and brass (and theoretically iron, though I don’t know if I could get it that hot).
The lid form was filled with refractory mix, then baked in the oven at 250° F for a couple hours to drive out the water. Once the mix was dry, the temperature was raised to 500° F for another couple hours to fuse the refractory mix.
Once the lid was fired, I needed to do the furnace body. The lining of the furnace walls was rammed up, then the interior form was collapsed and removed. The furnace floor was rammed up was well, and the whole assembly was moved outside.
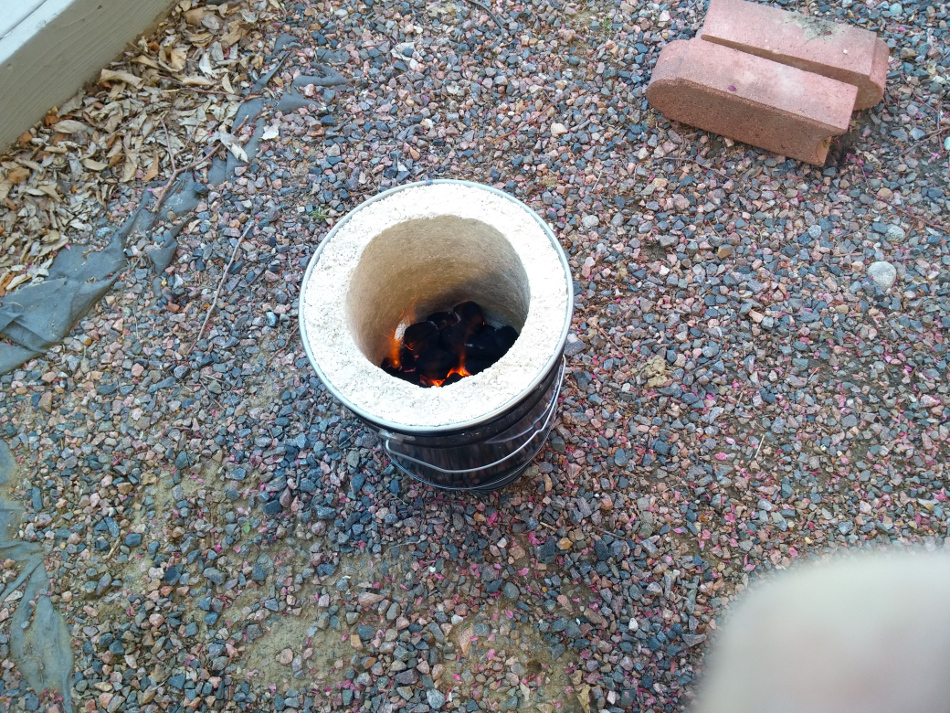
I put a double layer of charcoal in the bottom of the furnace, lit it, and waited until those coals had caught. I kept adding fuel to the furnace until it was about ⅔ full of burning coals, then put the lid on and let it cook for another hour to drive out the water.
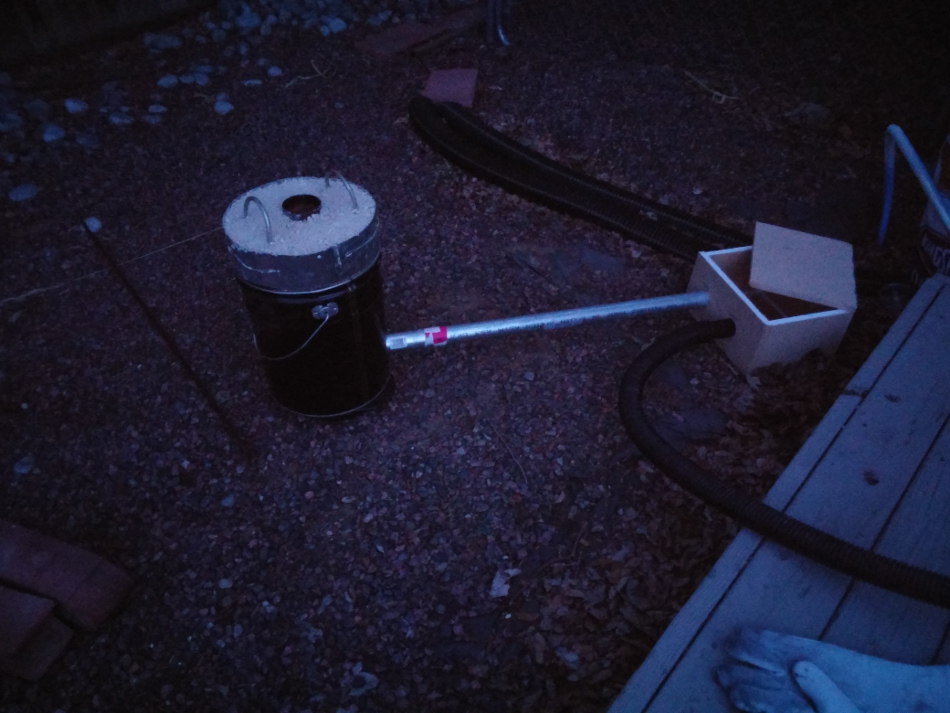
Once the furnace was dry, I added the air blast setup. I started it with a low air flow, and gradually ramped it up to full blast. I ran it at a high blast until the fuel in the furnace was mostly consumed, then turned it off and let it slowly cool overnight. I can’t wait to try it out melting aluminum!

