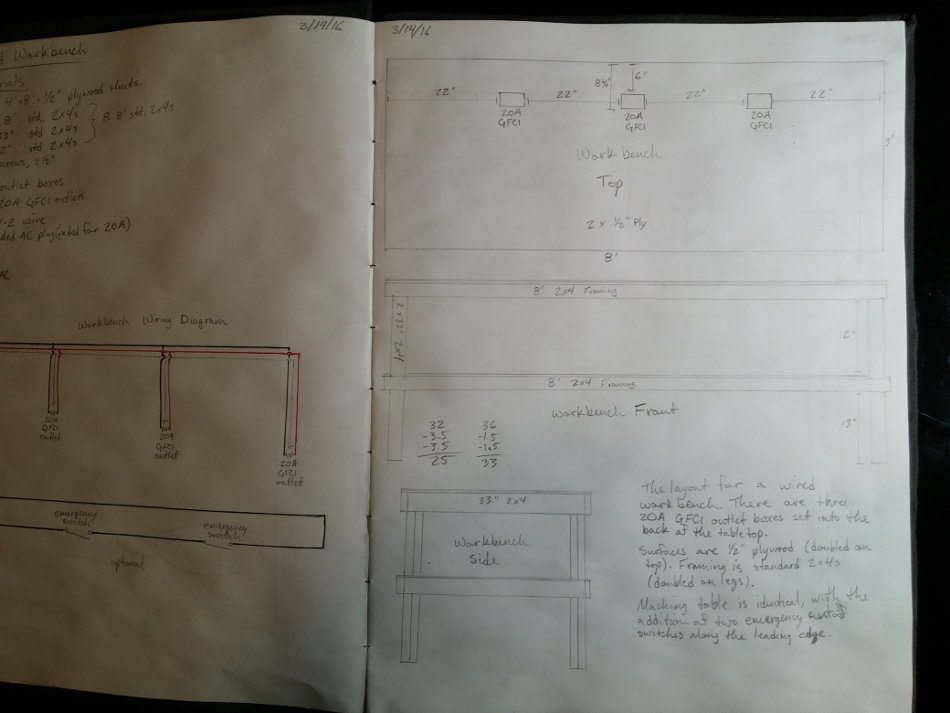
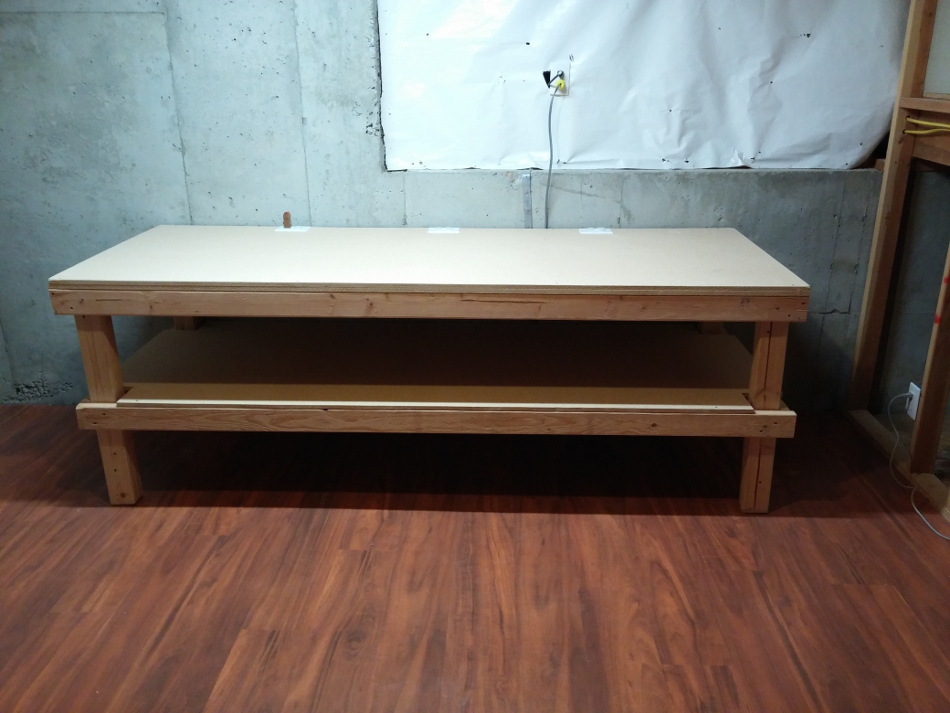
After finishing the shop floor, I wanted to build myself some workbenches. The first was going to stay an open bench, and the second was going to gradually get filled up with bench-mounted machine tools. I spent a few days sketching out designs until I had something I was satisfied with.
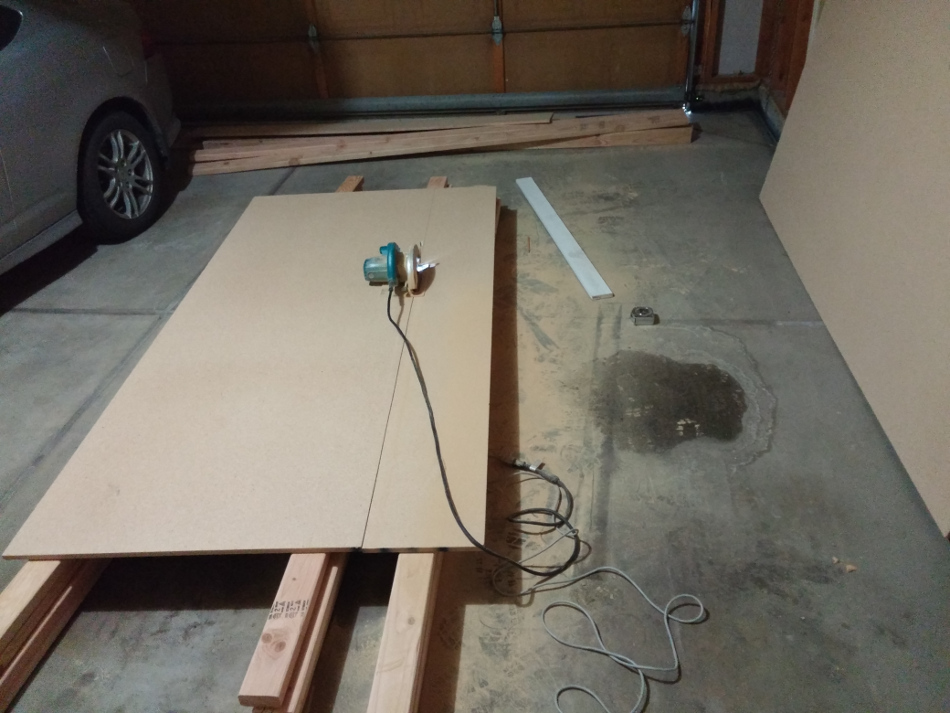
The first step was to get the required lumber. I didn’t actually have a way to get two hundred square feet of particleboard home, so I had to rent a pickup truck to do that first. Once I had it home, I set up a cutting station in the garage to get it down to size. Trying to maneuver 4’x8’ sheets down the stairwell into the basement didn’t sound like fun (shockingly, 3’x8’ sheets were still no fun).
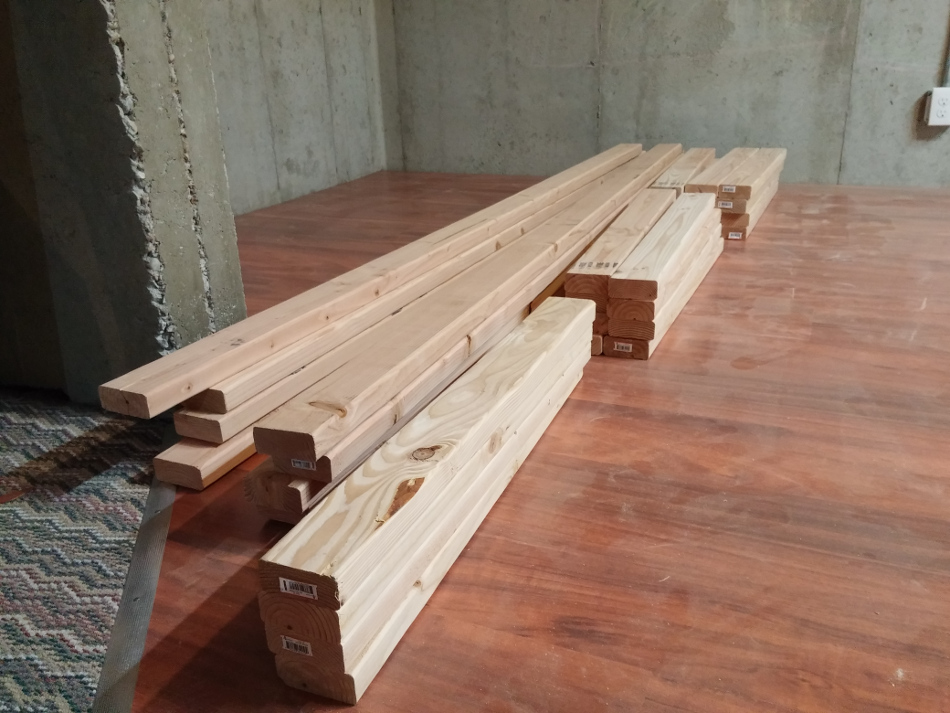
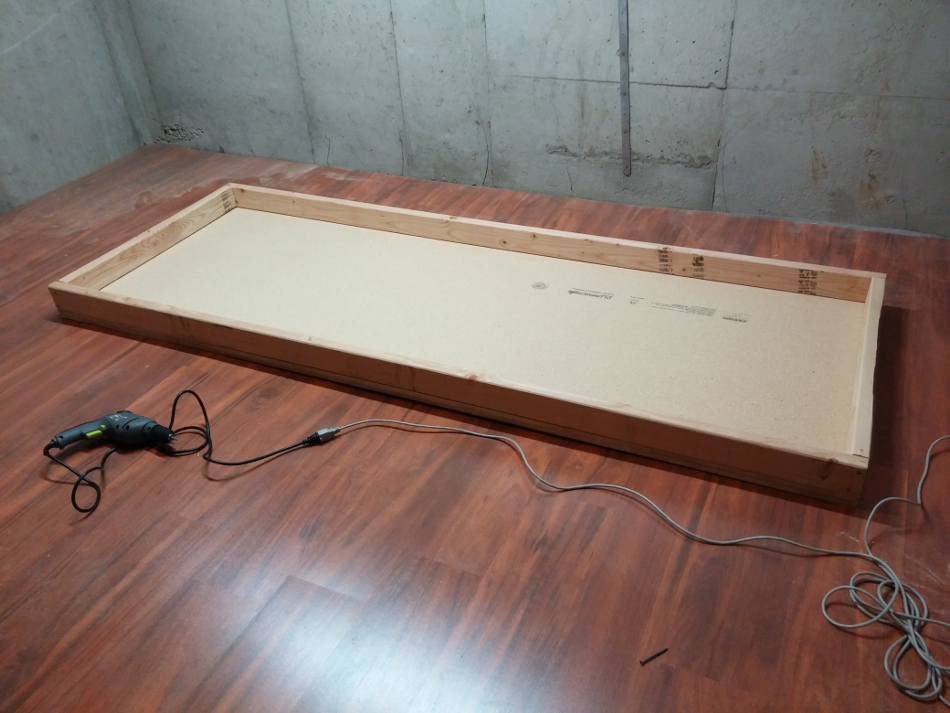
I cut all my 2x4s to the required lengths. I had originally done my design with 8’ 2x4s, but Home Depot had 10’ instead, so I was able to tweak the design a little on the fly to make it more robust. I laid out one of my sheets of particleboard on the floor and used that as a reference to keep the frame square while I was screwing it together. I then laid a double thickness of ⅝” particleboard on top of the frame and screwed it down. After flipping the framed bench top over I was able to start attaching legs.
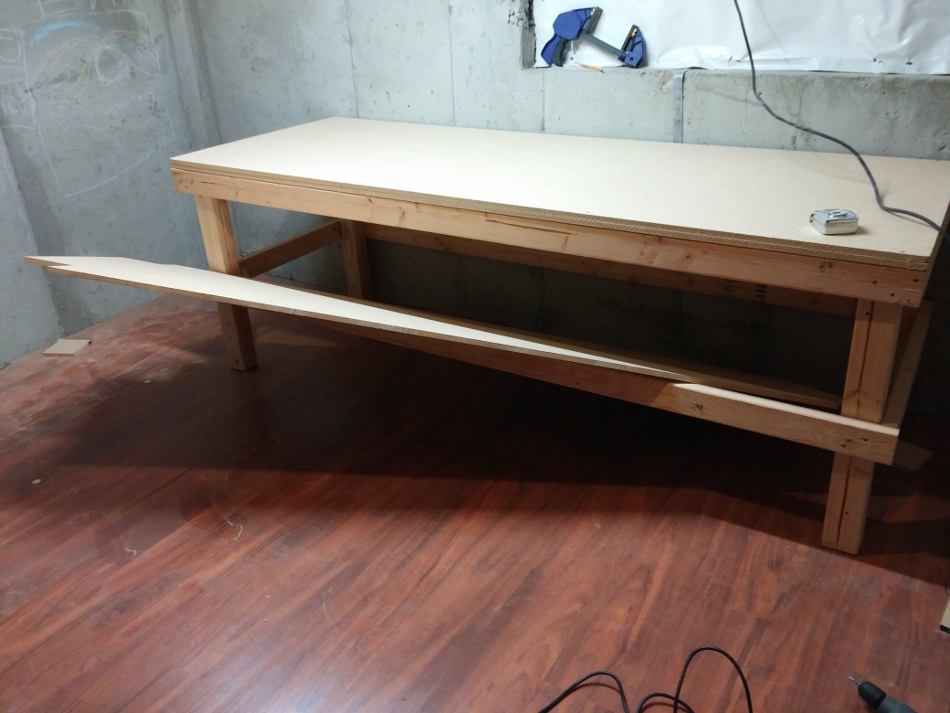
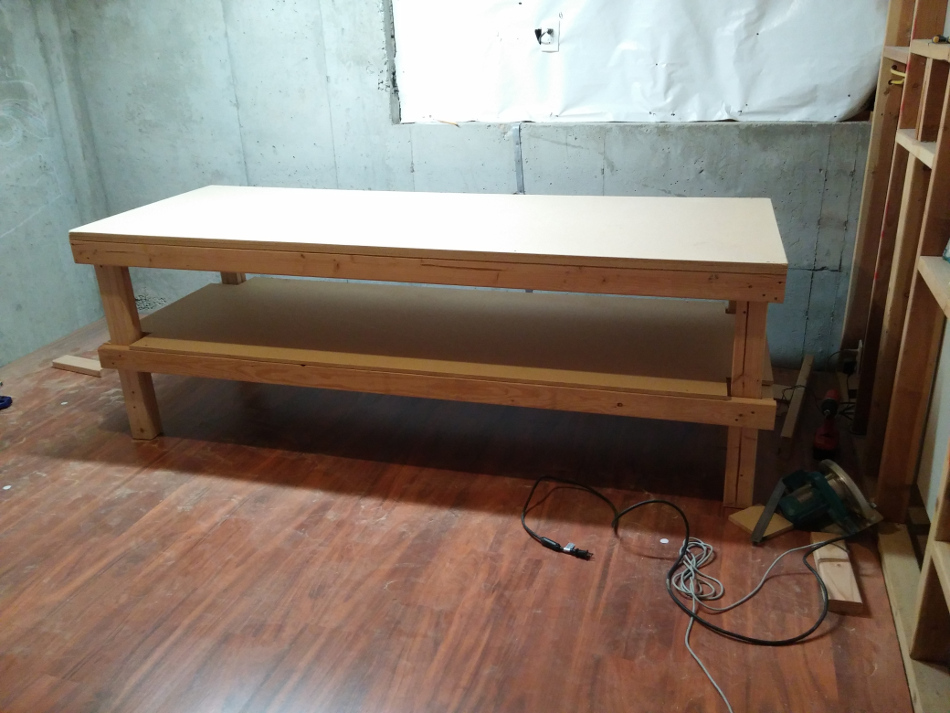
The legs themselves were each made from a pair of 2x4s screwed together. Each leg was screwed to the frame, then braced with crosspieces 12 ⅝” up from the frame. These cross braces would serve as supports for the shelf. After flipping the bench back over, and cutting notches in a sheet of particleboard to be the shelf, I tried to put the shelf in. Crap.
At this point I realized I didn’t have enough clearance to fit the shelf into the bench. There followed a fair bit of righteous swearing while I partially disassembled the bench and tried to jam the shelf in in various orientations. It culminated with my lying on my back on the floor underneath the shelf, using all four limbs to press it into place. Eventually I got it oriented properly, reassembled the table around it, and screwed it in place. I sanded the edges a little to clean it up, and voila: I had a workbench.
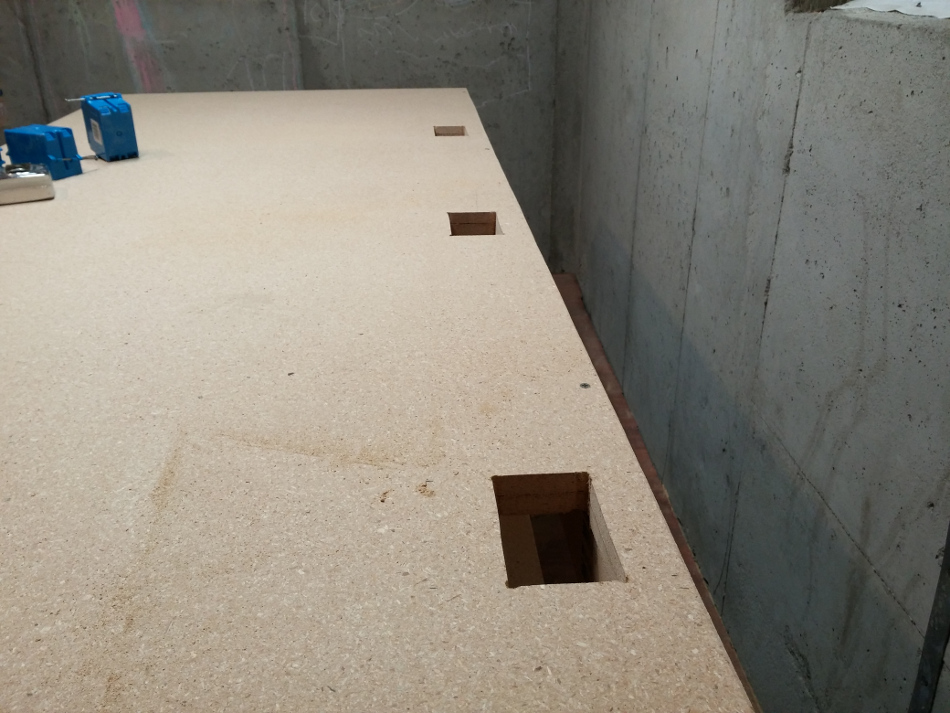
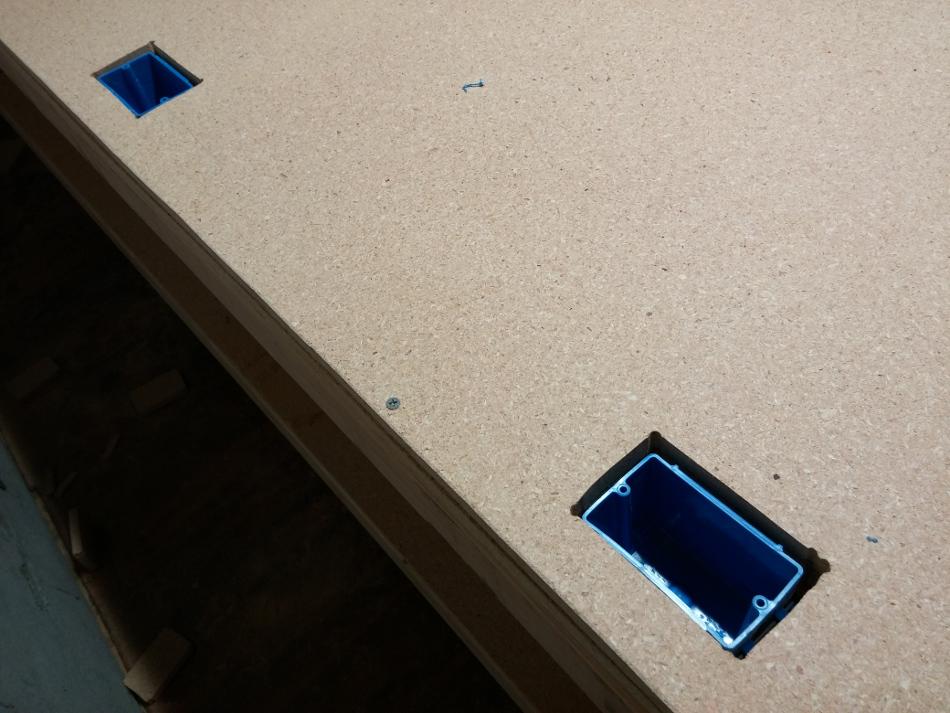
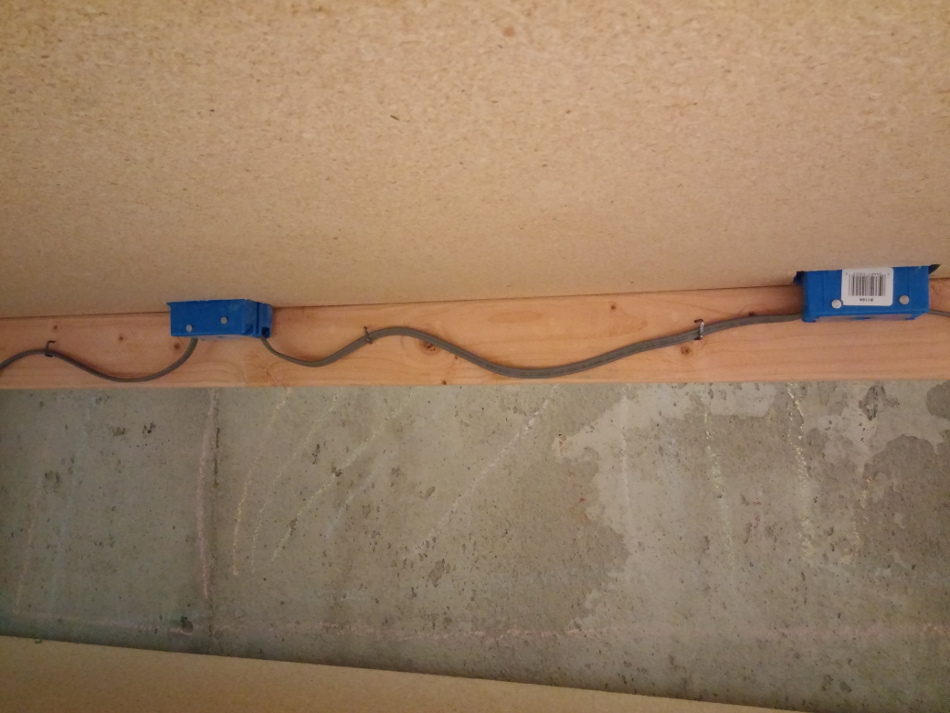
So far though it wasn't a very fancy workbench. I marked out and cut some holes along the back edge to take my outlets. I fitted each with an outlet box, and a 20A GFCI outlet. Wiring it all together in parallel was pretty straightforward. As was fitting it out with a plug and testing all the outlets and ground fault circuits. When not in use, the outlets are fitted with safety caps to keep dust and chips out of them.
The second bench went together exactly the same way as the first, with a few notable exceptions. 1) I drilled pilot holes for all my screws, which made things go much quicker and resulted in far fewer stripped screws. 2) I put the shelf in before screwing on the cross braces, so I didn’t have to use my acrobatic skills to do the final assembly. 3) I added a couple emergency shutoff switches along the front of the bench (this one is a machining table after all, and an extra way to cut off power to a tool is never a bad thing).
Success! Next up I need to put up some shelves and pegboard so I don’t have tools all over the floor.
